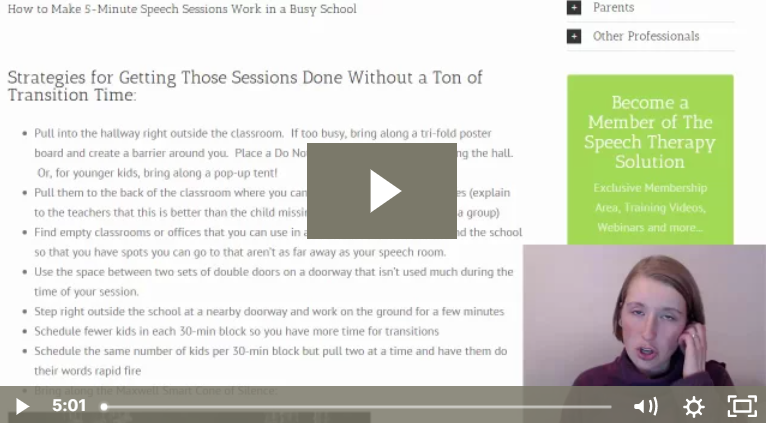
Scheduling with this can be kind of tricky, but once you get the hang of it, you’ll easily see how you can fit all of these sessions in.
The first thing to try is to break your larger groups apart into individual 5-minute sessions. So, if you had 4 kids that you saw for 30 minutes, you would see each child individually outside his classroom (in the hallway usually) for a quick 5 minutes and then be on to the next. You could easily get 4 or 5 kids into one 30-minute block.
You can also work these 5-minute sessions in during transition times when you might not normally have enough time for a full session. I used to love to hang out in the hallway near the preschool rooms as my kids were getting off of the busses. I would grab whichever child got there first and we’d run through a quick 5 minutes while the rest of the children were piling in. I would also do the same thing during dismissal or closing circle. I also hung the student’s words on the wall of their classroom so their teachers could run them through the list from time to time as well.
Make sure you have everything you need! Grab a rolling case and add the following items:
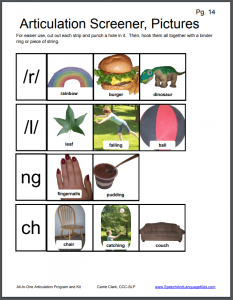
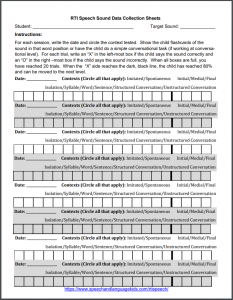
Choose one sound or skill (this can be used for language therapy, too!) for each child to work on. You can use your articulation screener to determine which sounds they need to practice. Fill out one of the following data collection sheets for each child.
RTI/Quick Artic Data Collection Sheet
Here’s how each therapy session will break down:
Minute 1: Run through 20 trials of the target sound in the target context. Don’t provide any feedback, just see how the child does and take 20 data points.
At first, just start with the sound in isolation. If the child is able to get 80% of isolation, move up to syllables. Keep progressing through the stages until you get 80% in conversation. Once you get to the conversational levels, you’ll just sit down for the first minute and have the child tell you about a past event and record correct/incorrect productions of the sound.
If you’re working on single words and you don’t have enough flashcards of a certain position to get to 20 trials, repeat the deck.
Minutes 2-4: Provide feedback and help the child either improve accuracy at the current level or work on the next level up. Focus on getting in as many repetitions as possible.
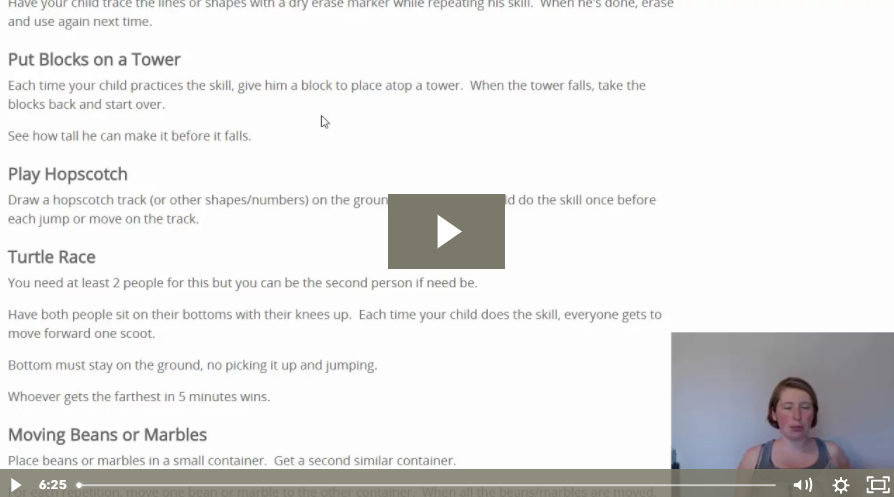
Do something simple like use a clicker and tell the child you’ll click once for every word he says correctly. Tell him he’s going for a high score and keep record of who is winning. Or, have the student push a gold coin through a slot in a Tupperware container for each word (or 5) that he says correctly.
The goal is to keep it fun so the child stays motivated without having the “fun” part take too much time away from the practicing.
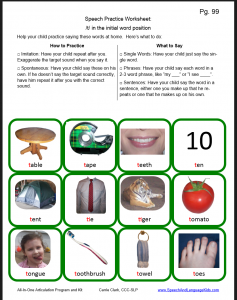
Minute 5: Provide homework and send him on his way. Pull out a worksheet that is something that works on the child’s target skill but that he can do somewhat independently. You don’t want to assign something that will be too hard because then he may practice the sound incorrectly at home.
If you have organized your materials well, you should have a file full of worksheets that you can pull out at a moment’s notice.
Rinse and Repeat:
Once the student reaches 80% at each level, you’ll move up to the next level. Once the student is using the sound correctly in conversation with 80% accuracy, you’ll move on to a new sound and repeat all of the steps.